Reinforcing Mesh in Render Over EPS and Hebel
Reinforcing mesh sits inside the base coat of many render systems. Once the wall is finished, nobody sees it. When it is missing or badly installed, everyone sees the cracks.
This is what mesh does and how to get it right on EPS and Hebel walls.
What the mesh does
Mesh spreads stress across the render instead of letting it gather in one spot. Small movements in the substrate are shared out through the mesh, so the render is far less likely to crack along a joint or corner.
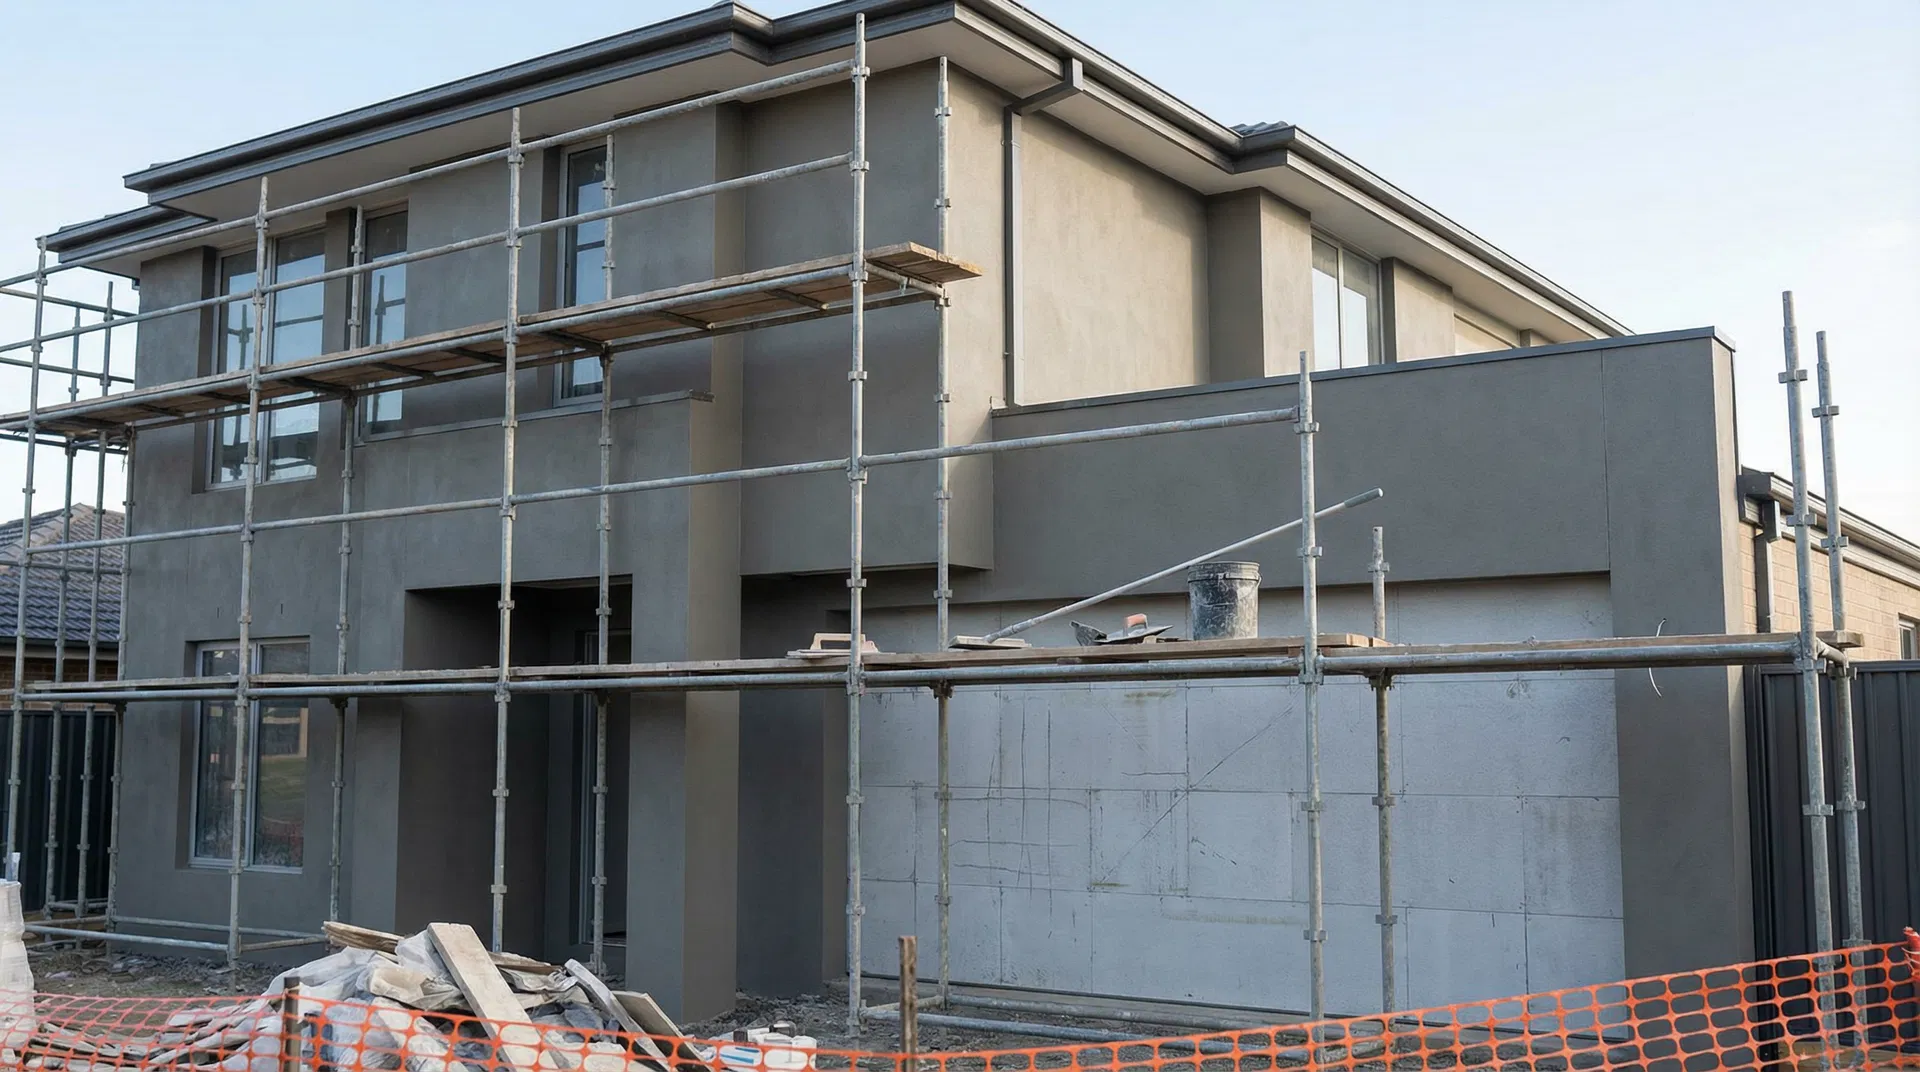
On EPS cladding systems, fibreglass reinforcing mesh is a standard part of the system. The system documentation sets out the type of mesh and how it is installed.
Mesh must be embedded, not laid on top
The most common mistake is mesh that sits on the surface of the base coat. Mesh does its job when it is fully embedded in the coat. If you can see the pattern of the mesh through the base coat, it is too close to the surface.
Mesh pressed onto a bare substrate and coated over is just as bad. The coat needs to surround it.
Overlaps at joins
Mesh comes in rolls, so there are joins across every wall. Each join needs to overlap by the amount the system documentation specifies. A butt join with no overlap creates a weak line that tends to crack.
Extra mesh at openings and corners
Window and door corners concentrate stress. Extra pieces of mesh are commonly placed at these corners to resist diagonal cracking. External corners also need proper corner reinforcement, usually with beads and mesh as the system requires.
Mesh on Hebel walls
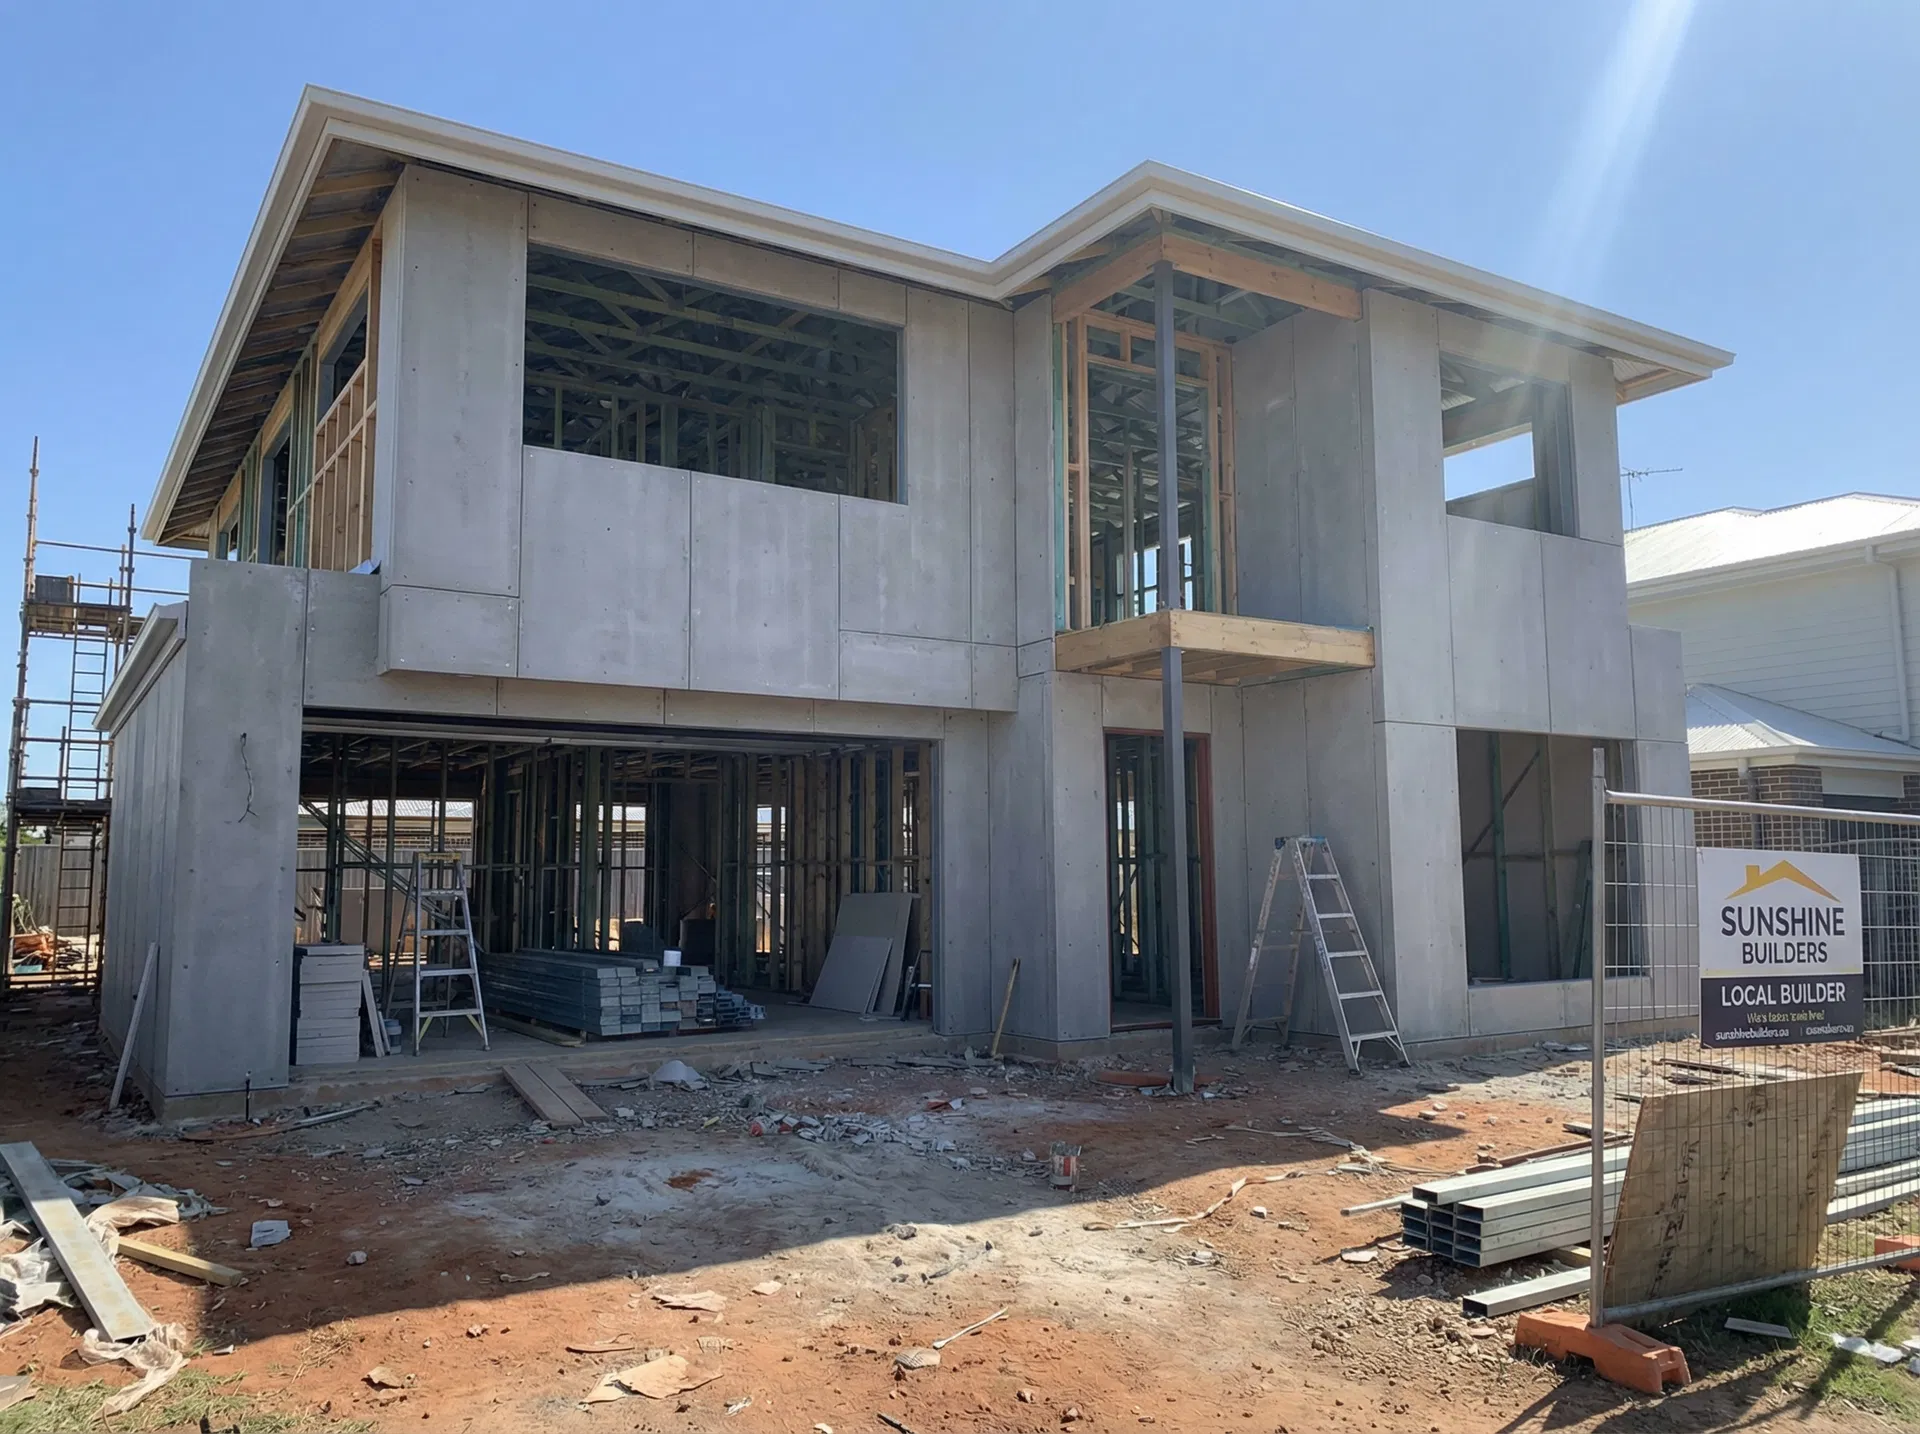
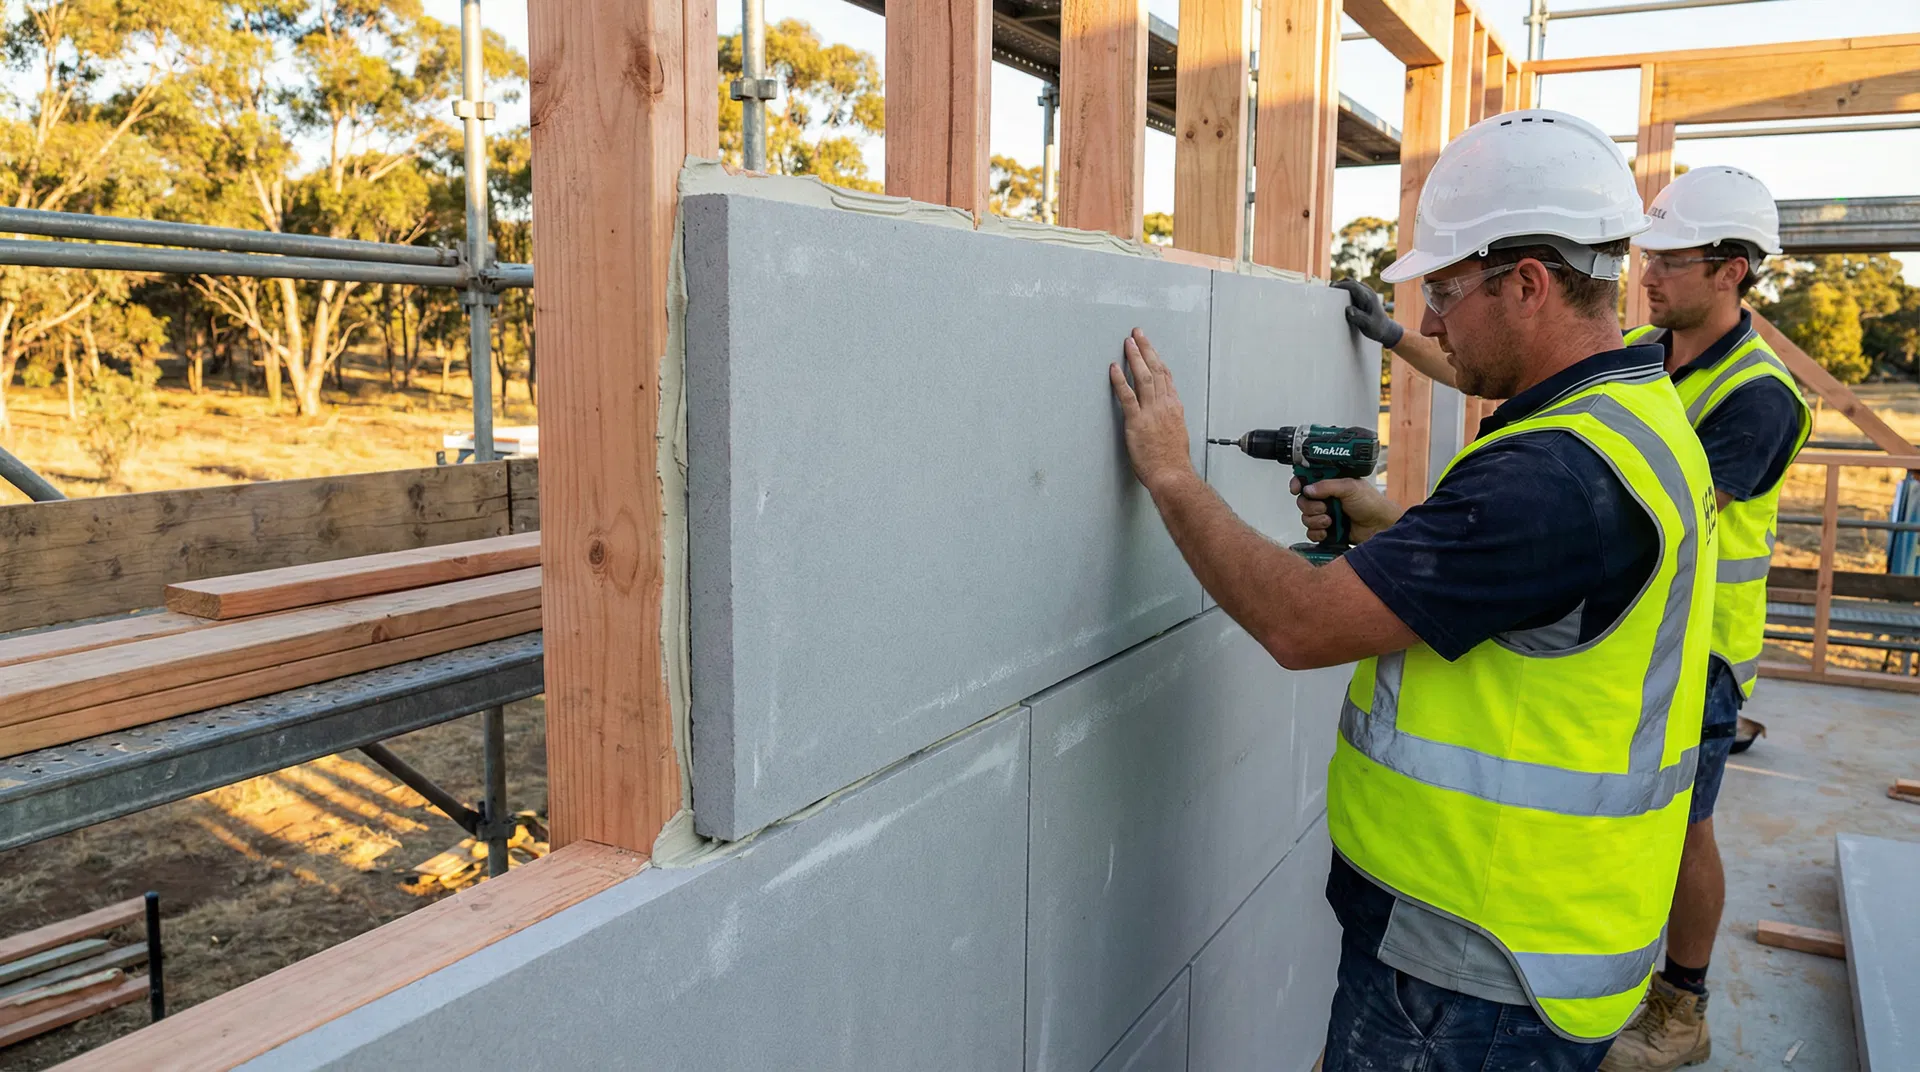
On Hebel walls, the coating system and any reinforcement follow the manufacturer's requirements for the panel and the coating. Panel joints and control joints have their own details. We work from the current CSR Hebel literature and the coating system documents for each job.
Mesh around penetrations
Pipes, vents and bracket fixings that pass through the wall interrupt the mesh. Each one needs the mesh cut neatly and reinforced around it, then sealed as the system requires.
Penetrations added after the base coat is on are a common source of cracks and leaks. Ask other trades to finish their penetrations before coating starts, and tell the render crew about any that are still to come.
Mistakes we see on repairs
When we are called in to fix cracked walls, we often find:
- No mesh at all behind the crack
- Mesh sitting on the surface of a thin base coat
- Joins with no overlap
- No extra mesh at window corners
- Mesh cut short at corners and trims
Every one of these is avoidable with supervision and stage photos.
Checking the work
Mesh is covered within hours of going on. The only way to check it later is a photo. We photograph mesh and base coat at openings and corners before the next coat goes on. See our Hebel installation and EPS cladding pages.
Send the drawings through our project portal or call 0452 295 212, and we will price the job.