Stage by Stage: Installing EPS Cladding
An EPS cladding wall goes up in layers. Each layer covers the one before it, so mistakes get buried fast. Working in the right order, and checking each stage, is what makes the finished wall last.
This is the order of work we follow on a Dulux Exsulite job. The system's technical manual sets the detail at every step.
Stage one: check the frame and openings
Before any panels arrive, we check the building:
- Frames straight and plumb
- Windows and doors installed and flashed
- Other trades finished with penetrations
- Scaffold safe on every elevation
A frame that is out makes a wall that is out. It is the cheapest point to fix it.
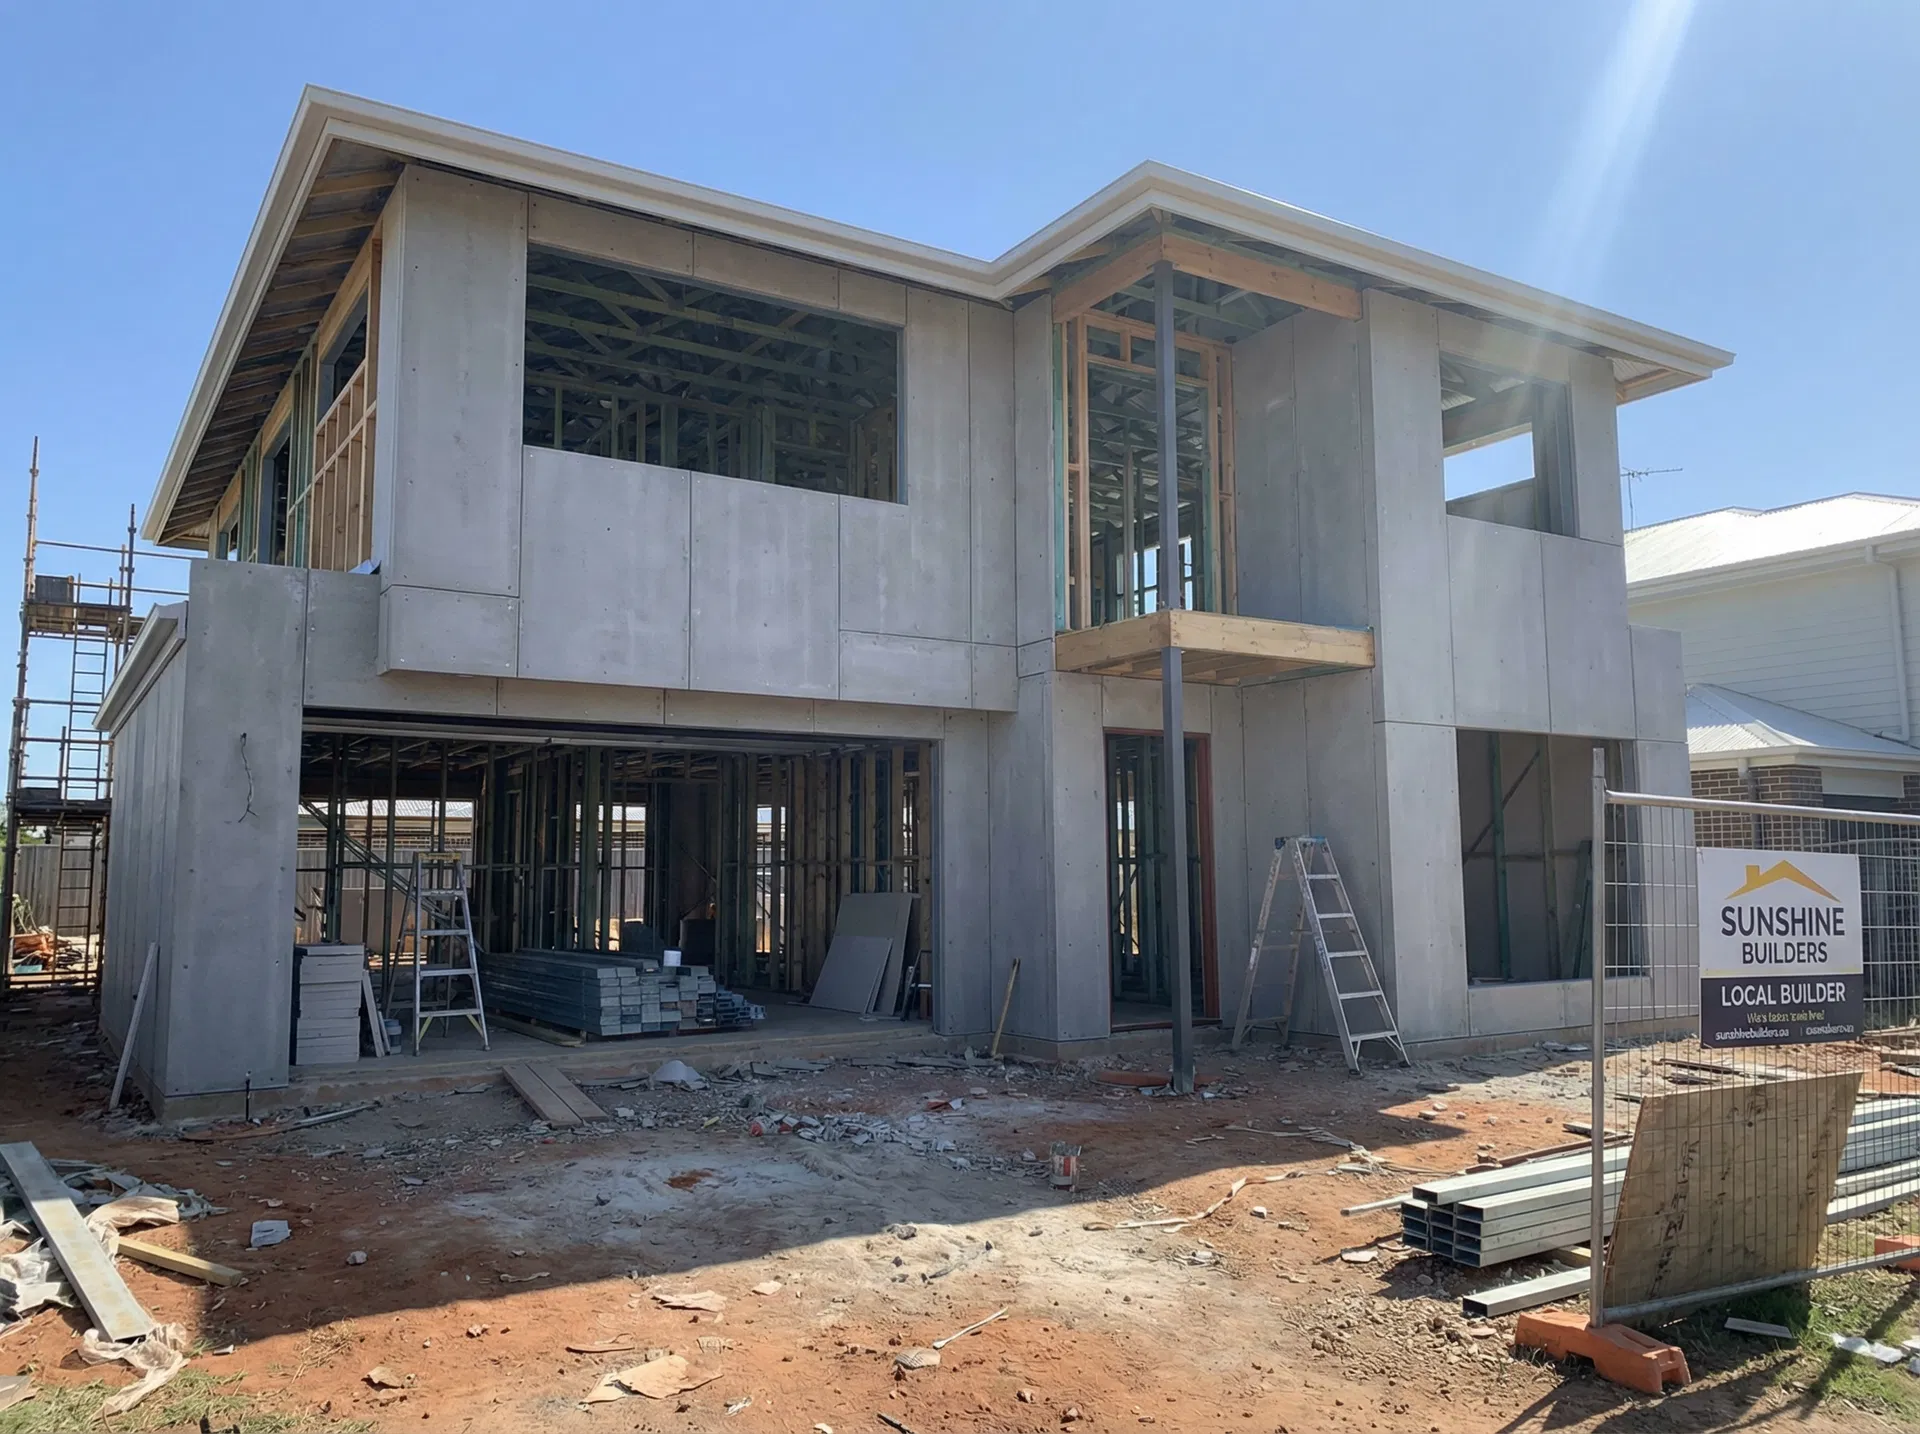
Stage two: fix the panels
EPS panels are fixed using the method and fixings the manual specifies. Joints are kept tight and aligned. Panels are cut neatly around openings and penetrations.
We photograph the panels once they are fixed, before any coating.
Stage three: detail openings and corners
Openings, corners and edges get their trims, beads and extra reinforcement at this stage. These details decide whether the wall cracks or leaks later. They need to be right before the base coat covers them.
Stage four: mesh and base coat
The base coat goes on with fibreglass reinforcing mesh embedded in it. The mesh must sit inside the coat, not on top. Joins overlap as the manual requires.
We photograph mesh and base coat at openings and corners before moving on.
Stage five: curing time
The base coat needs time to cure before the finish goes on. The data sheet sets the minimum, and the weather changes it. We do not shorten it to catch up on the programme.
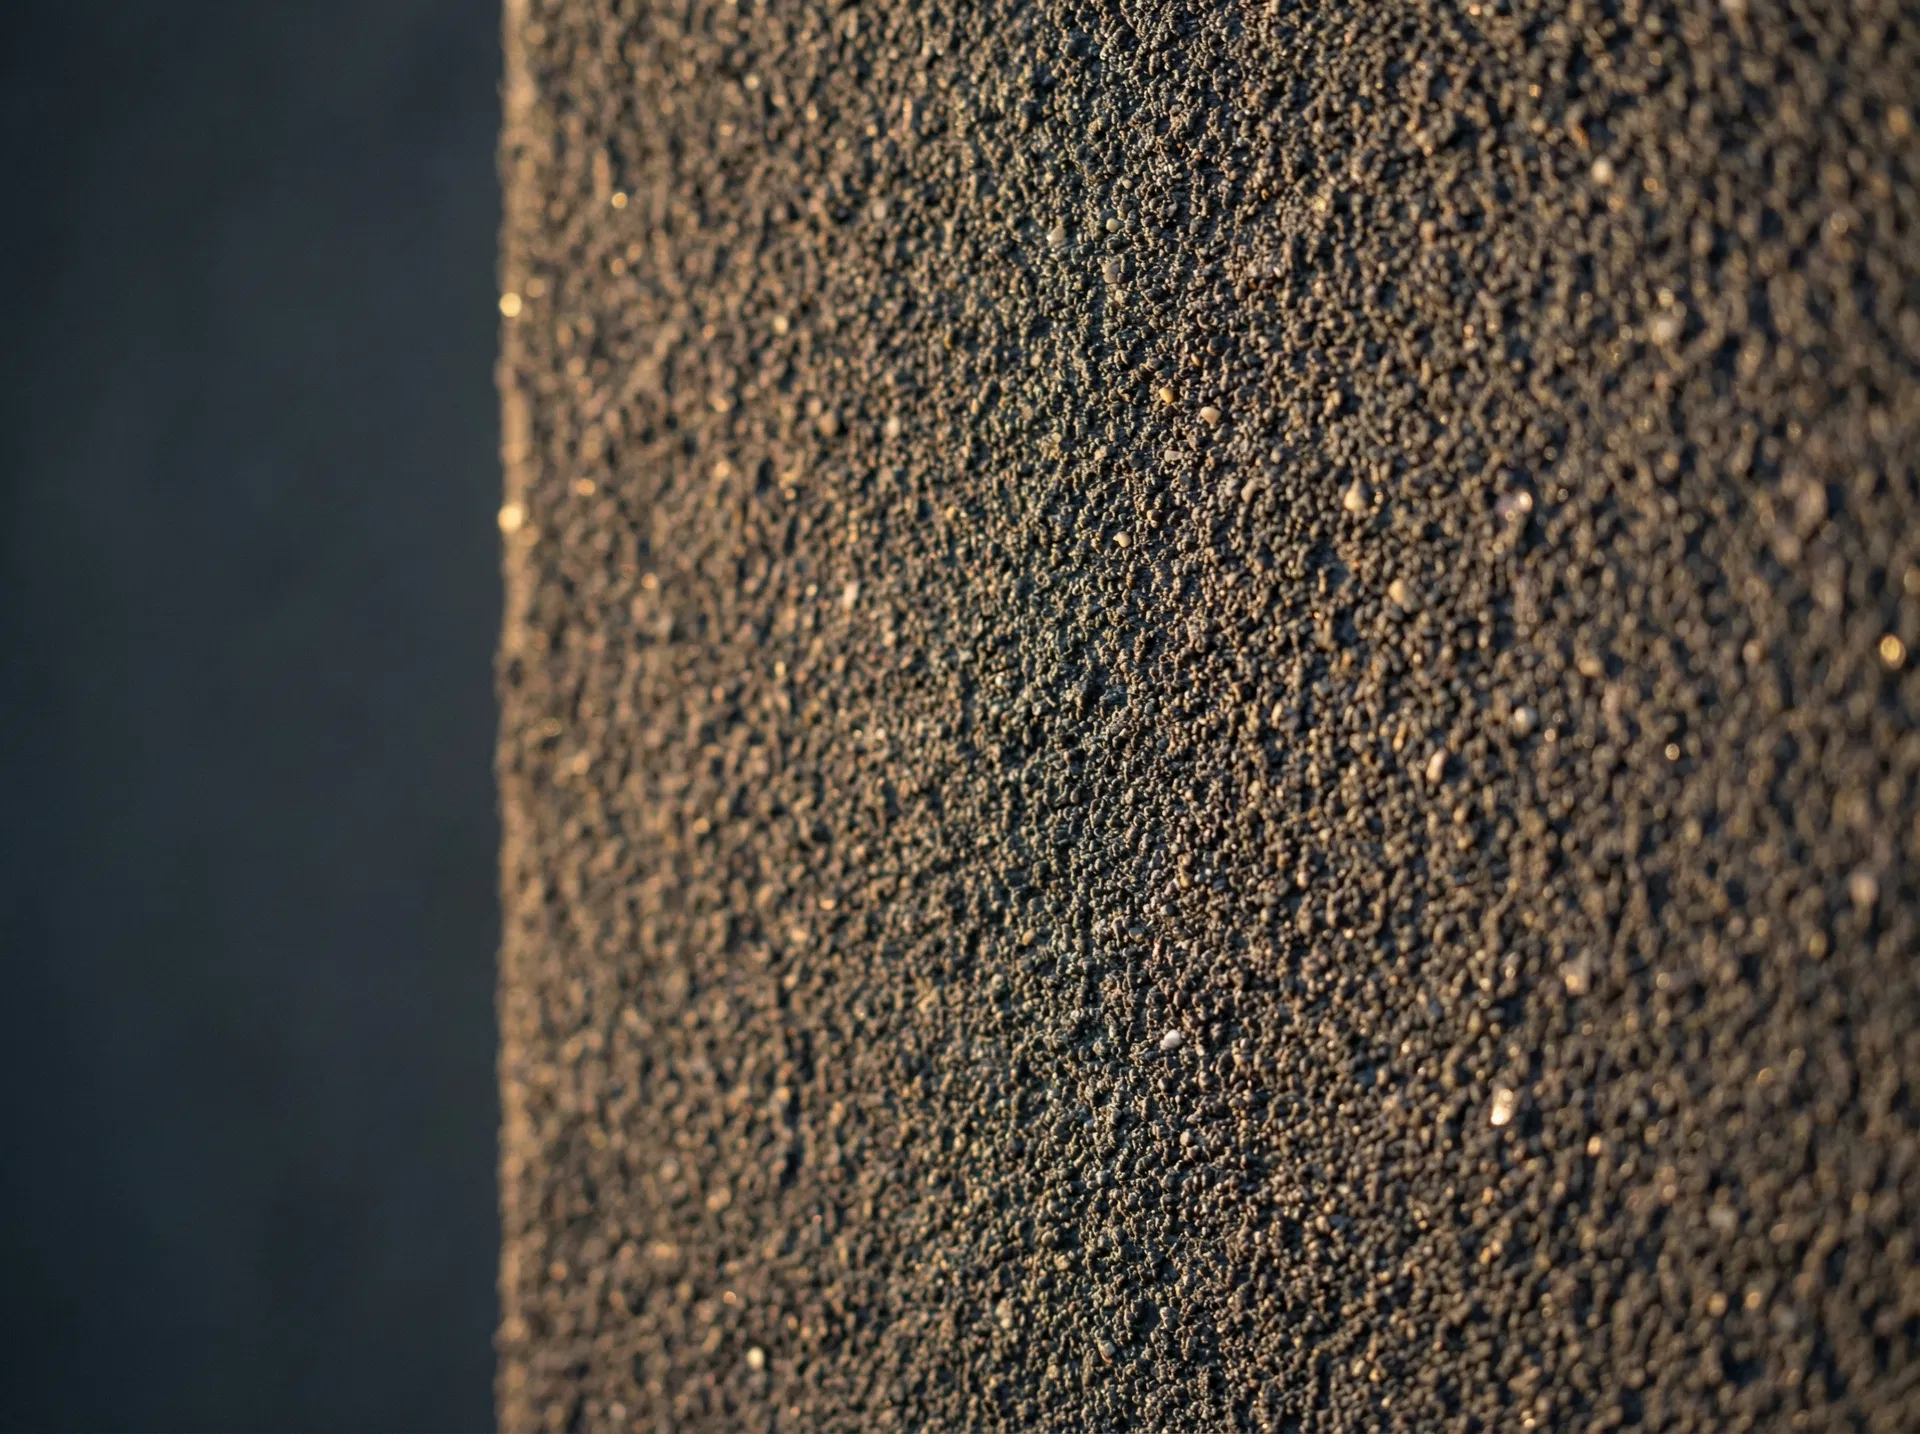
Stage six: acrylic render finish
The acrylic render finish goes on in the texture and colour on the schedule. Each wall is finished in one go where possible, so there are no visible breaks.
Stage seven: final check and handover
We inspect the finished wall with the builder, fix any marks, and send photos of each elevation. The owner should get simple care instructions at handover.
Who checks each stage
The crew leader checks each stage before the next one starts. On the first few houses of a new type, the builder's supervisor should also see the panels and the mesh before they are covered. Stage photos cover the rest.
If the supplier or the certifier wants to inspect a stage, book it early. A crew waiting for an inspection is a crew not working.
Weather through every stage
Rain, wind and very hot walls stop work at any stage. Fresh coats need protecting from rain. Planning around the weather is part of the job, not an excuse for delays.
Why the order matters
Skipping or rushing a stage rarely shows on the day. It shows months later as cracks or water marks. Read more on our EPS cladding page.
Send the drawings through our project portal or call 0452 295 212, and we will price the job.